Have you ever looked at someone’s skin and thought, “How is it even possible to look that flawless?” Their face glows, it reflects light like smooth glass, and there’s not a blemish, bump, or visible pore in sight. That’s the power of glass skin—a K-beauty trend that’s taken the world by storm. But here’s the best part: you don’t need to spend hours in front of the mirror or use 10+ products to get it.
Many women feel overwhelmed by beauty routines—especially ones promising perfection. But what if I told you that you can achieve that translucent, dewy, radiant skin in just 5 simple steps? Yes, only five. No complicated layering. No breaking the bank.
Whether you’re a busy mom, a skincare beginner, or just someone who’s ready to glow effortlessly, this guide is for you. Let’s unlock the secret to soft, silky, glass-like skin—without the stress.
What Is Glass Skin, Exactly?
“Glass skin” refers to skin so smooth, clear, and luminous that it looks like a piece of glass. It’s not about piling on makeup—it’s about achieving that shine and clarity naturally.
The hallmarks of glass skin are:
- Deep hydration
- Even tone
- Minimal pores
- A bouncy, reflective texture
It’s the kind of skin that glows from within, which means focusing on skincare, not cover-ups.
Why Simplicity Wins
Many glass skin tutorials involve 8 to 12 steps, but not everyone has time for that. Plus, too many products can overwhelm the skin and do more harm than good. That’s why this 5-step version works so well—it’s gentle, sustainable, and still delivers the results.
Step 1: Double Cleanse (The Smart Way)
A clean canvas is everything when it comes to glass skin. Dirt, oil, SPF, and makeup all block your glow. That’s why double cleansing is step one.
How To Do It:
- Start with an oil-based cleanser
– It melts away makeup, sunscreen, and impurities without stripping your skin.
– Massage into dry skin for 60 seconds, then rinse. - Follow with a gentle water-based cleanser
– This removes sweat, grime, and any leftover residue.
– Avoid harsh or foaming cleansers—they damage your skin barrier.
🧼 Pro Tip: Cleanse with lukewarm water—hot water dehydrates and cold doesn’t lift dirt as well.
Step 2: Tone and Prep Your Skin
Toners are the bridge between cleansing and moisturizing. In K-beauty, toners are used to hydrate, not strip.
Choose a toner that:
- Has hydrating ingredients like hyaluronic acid, glycerin, or rose water
- Is alcohol-free
- Helps restore your skin’s pH
How To Use:
- Pour a few drops into your hands or a cotton pad
- Pat gently into your face and neck
- Don’t rub—pressing allows better absorption and keeps skin calm
💧 Why it matters: Well-toned skin is like a sponge—it absorbs every next step better!
Step 3: Apply a Lightweight Hydrating Serum
This is where the glow starts to build. A hydrating serum floods your skin with moisture and plumps it up, giving you that juicy, dewy look.
Look for serums with:
- Hyaluronic Acid – the ultimate moisture magnet
- Niacinamide – for brightening and smoothing
- Snail Mucin – a K-beauty favorite for healing and glow
Apply while your skin is still slightly damp from the toner—it locks in the moisture even better.
✨ Want to level up? Choose a serum that has a “glassy finish” for instant luminosity.
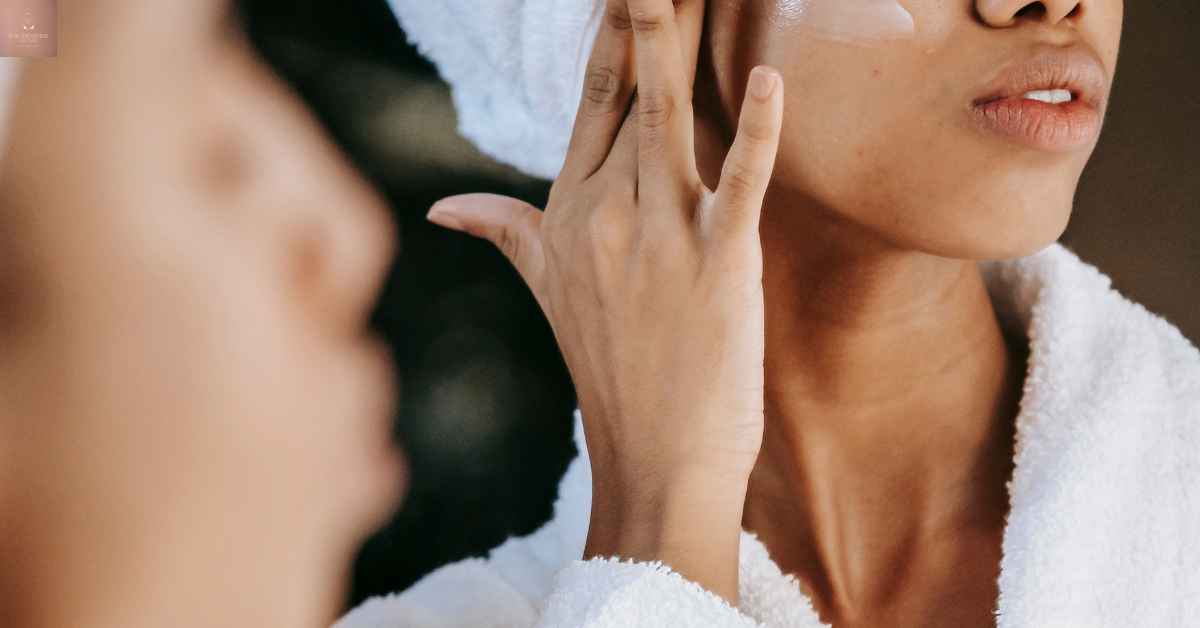
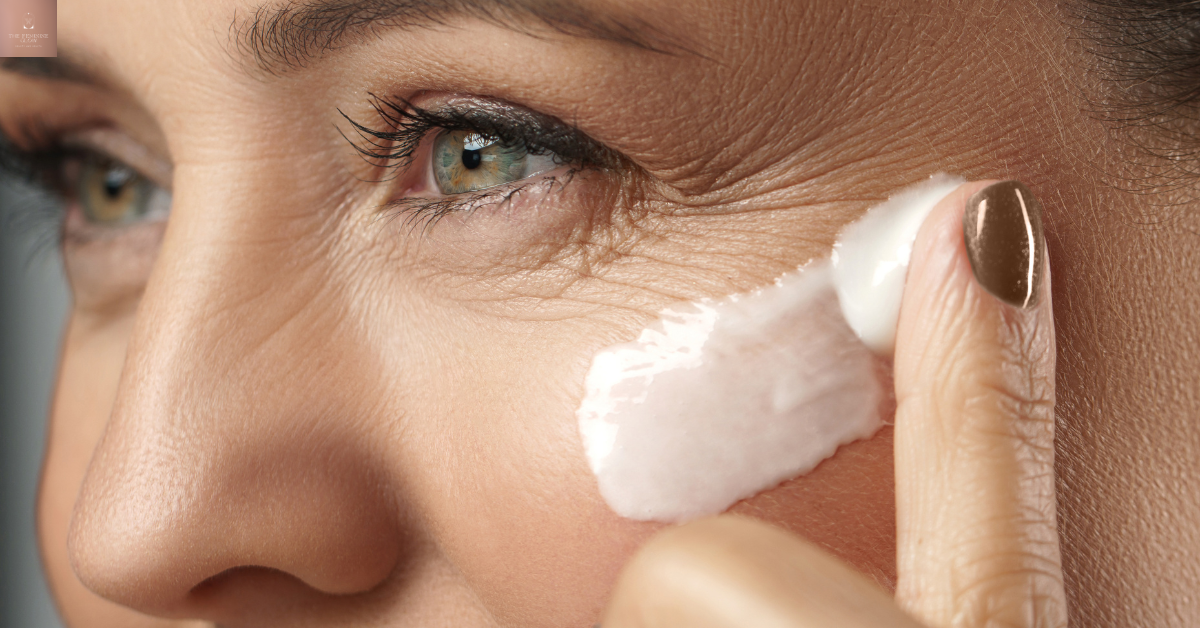
Step 4: Seal It In With a Gel-Based Moisturizer
Now it’s time to trap all that hydration in. A light, gel-based moisturizer is perfect for this—it doesn’t clog pores but leaves a radiant, dewy finish.
Key things to look for:
- Lightweight texture
- Hydrating ingredients like aloe, ceramides, green tea
- No heavy oils or silicones (they can suffocate skin and cause breakouts)
Massage it in gently. Your skin should feel bouncy and look glossy—not greasy.
Step 5: SPF Is Your Glow’s Best Friend
This might surprise you, but sunscreen is a glass skin essential. Why? Because sun damage destroys radiance, creates uneven skin tone, and speeds up aging.
Choose a sunscreen that:
- Is lightweight and non-greasy
- Has a dewy finish
- Offers broad-spectrum SPF 30 or higher
Korean sunscreens are amazing for this—they’re hydrating and leave no white cast.
☀️ Don’t skip this step—even if you’re staying indoors. UV rays are everywhere.
Optional But Powerful: The Extras
If you want to enhance your glow even more, consider these occasional add-ons:
✨ Face Masks (2x/week)
- Look for sheet masks or hydrating jelly masks
- Best time to use: after cleansing, before serum
✨ Face Mists
- Great for midday refresh
- Spray over makeup or bare skin for an instant glow boost
✨ Exfoliate Weekly
- Use a gentle chemical exfoliant (like lactic or mandelic acid) 1–2x a week to remove dead skin and reveal smoother texture
Real Results Without the Fuss
The best thing about this 5-step routine? It’s simple enough to stick to and powerful enough to change your skin. Within a few weeks of consistency, you’ll notice:
- Softer skin
- Less texture
- More hydration
- A luminous, almost reflective quality to your complexion
And that’s real glass skin—not from filters, but from skincare that works with your skin, not against it.
Let’s Recap: Your 5-Step Glass Skin Routine
- Double Cleanse – Melt makeup + deep clean without stripping
- Tone – Rebalance and prep your skin for moisture
- Hydrating Serum – Infuse your skin with moisture + glow boosters
- Gel Moisturizer – Lock in hydration and create a plump surface
- SPF – Protect your glow from UV damage every single day
Final Thoughts
Glass skin isn’t about perfection. It’s about health. It’s about listening to your skin, giving it what it needs, and simplifying your routine so it becomes joyful instead of overwhelming.
You don’t need to do everything. You just need to do a few things well, consistently. And when you treat your skin with that kind of intention and love, it will return the favor—with radiance.
Ready to start your glass skin journey? Begin today with just these 5 steps—and watch the glow grow.
Loved this guide? Save it to your Pinterest board and share it with someone who’s ready to glow effortlessly!